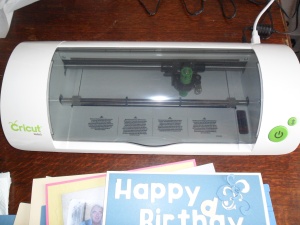
I have seen these Cricut cutting machines on various craft channels on tv and I really wanted one and the name Cricut mini was on my wish list, so you can understand my joy when one arrived by courier.
I feel so lucky to be given the opportunityto actually get my hands on one free of charge with a view to writing a review for Cricut and now have been told I can keep it for ongoing future projects of which I will ‘tweet’ photographs.
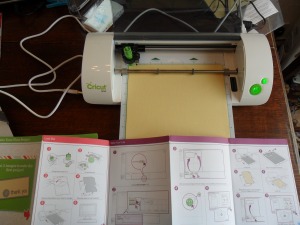
After opening the box and checking off all the parts included, I found comprehensive, clear instructions of how to put in the cutting blade, connect to the power, access the internet and connect to the computer.
The sheet of A4 card is placed on the cutting mat which is slightly sticky and holds the card in place while the cuts are being made.
All went smoothly until I realised the blade wasn’t touching the cutting mat and not making any cuts at all. I looked again at the instructions and replaced the blade in the correct position.
Its amazing that when I actually followed instructions correctly how things work so much better!
Then I was away…
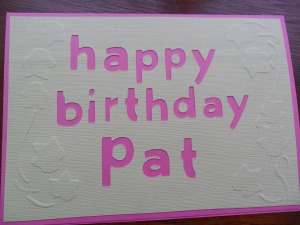
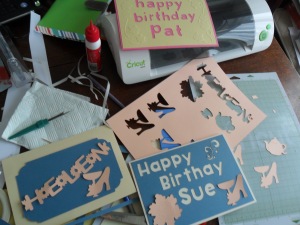
I’m afraid I ploughed ahead and after choosing all the letters separately to make the words ‘happy birthday Pat’ I realised I could have typed the whole words at once which would have been so much easier. More haste less speed perhaps!
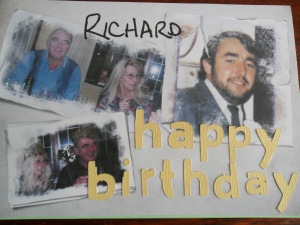
I love to personalise the cards I make with names and/or photographs and this is my first attempt at using the Cricut mini cutting machine
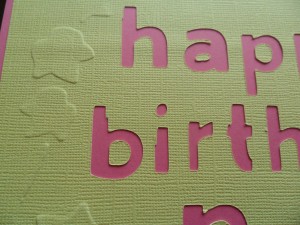
I did a little embossing to finish off the card and I was really pleased with it.
The machine operates reasonably quietly. Taking the cutting mat into the machine makes most noise. The actual cutting is a very quiet operation.
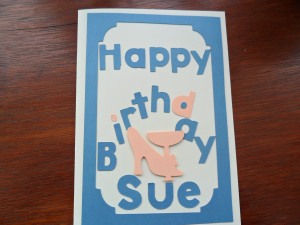
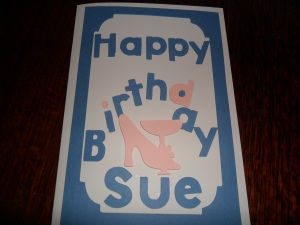
So as not to waste the cut out letters and to use both the negative and the positive image, I made another card using some card software and added the positive, ‘happy birthday’ greeting at the bottom.
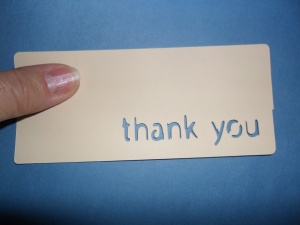
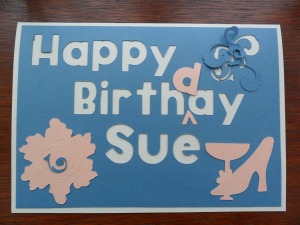
My next project went slightly awry. The scrolls I had chosen were quite fine and the blade didn’t quite manage to cut it out cleanly, although when the cricut mini was connect to the internet, it cut out ‘thank you’ perfectly and this was extemely small.
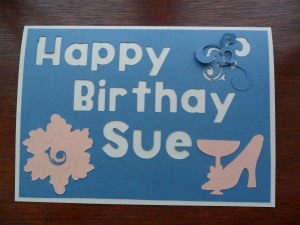
I stuck the cut out waste scroll material on top of the cut as an embellishment and it looks great. I realised after cutting out all the letters for happy birthday individually for the first project, that you could actually type them out and add them as full words…please note my ‘deliberate’ mistake….. No ‘d’ in birthday… Perhaps the keyboard stuck but anyway, I didn’t notice it until the card was complete.
I searched high and low for the missing letter to stick the loose letters on yet another card and for ages couldn’t understand how I’d lost it and after making a ‘d’ in another colour eventually found out that the reason I couldn’t find it was because there hadn’t been one in the first place!
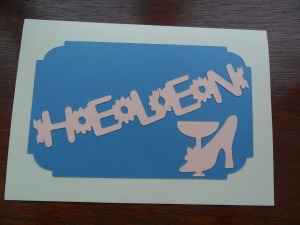
Something you can do with the Cricut mini is to ‘weld’ two images together and I ‘welded’ a shoe and glass together and cut them out as one object, a perfect symbol for my friend’s cards.
Letters and shapes can be ‘welded’ together as in the ‘daisy chain’ letters on this next card.
I’ ve added a ‘d’ to the card now. Do you think I can send it out like this?
These are only a start. I’m loving it so far.
I shall blog about other projects when I have completed more involved cuts.
There are so many designs to choose from and its such a clever machine. Its going to be exciting!
I was sent this Cricut mini free of charge so I could review it and all views stated here are true and my own.
Leave a comment